While automated inspection using machine vision has become quite common on many
production lines, reflective or shiny components often require manual inspection. This
increases labor cost and results in both less consistent defect identification and less ability to
rapidly identify the root cause of defects.
Examples of products which still require human inspection include unpainted stamped metal
parts and high gloss finishes on automobiles. These shiny objects make traditional machine
vision approaches ineffective as the surface detail captured by the camera is obscured by
reflections. Stamped metal parts can sometime be inspected after being painted in a matte
finish, but this is not always desirable or possible. High gloss is a key feature of many
automotive finishes, so most assembly plants feature a “light tunnel” staffed by multiple human
inspectors identifying defects visually.
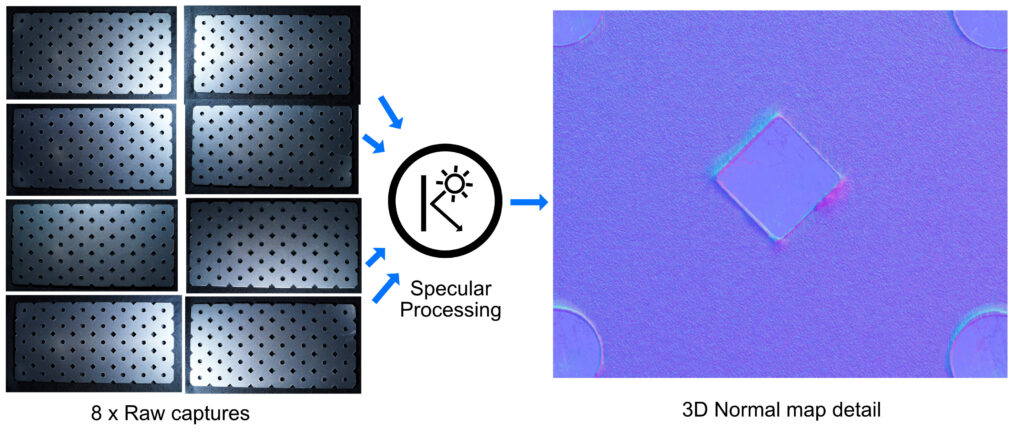
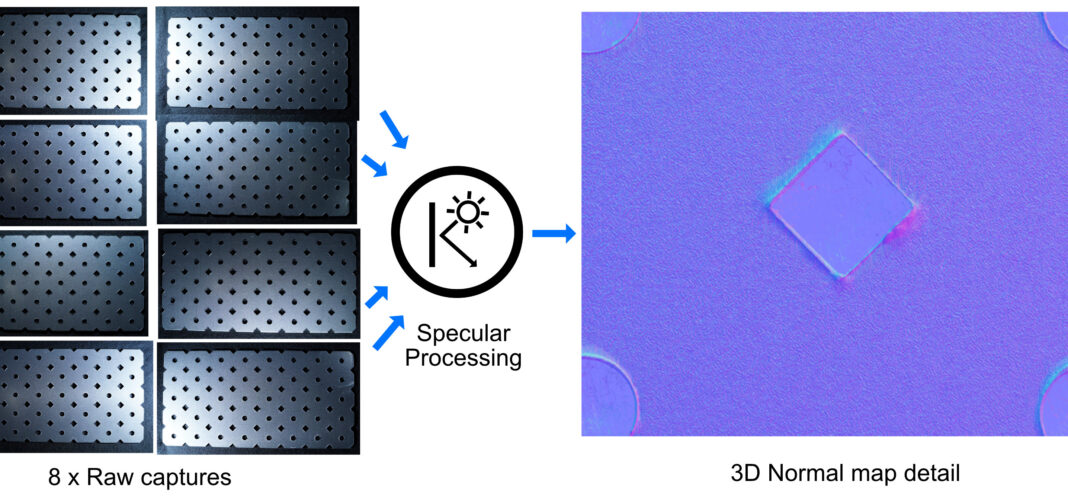
Umajin uses the reflections from shiny components to its advantage in its patented process for
Specular Photometry, which we define as “the measurement using a photograph, of the
amount of shininess”. This enables the automated inspection of objects with high specularity.
Umajin enables automated inspection of specular objects using a patented process to
calculate per pixel surface details from multiple images, including the 3D light direction,
diffuse color, specularity, ambient occlusion, optional IR/UV/Polarized intensity.

Umajin’s image processing is optimized for automated identification of defects using AI.
Machine vision and AI tasks for identification, classification, and condition ranking and scoring
are an integrated component of Umajin’s platform. The results of the automated inspection
that can easily be integrated into plant workflow applications, as well as to flag patterns of
defects to facilitate root cause analysis. Measuring in 3D is an enhanced benefit that Umajin
provides. For example, is that fault in the part beyond tolerance or within acceptable quality
standards.
This approach allows the automation of many more manual inspection tasks, which reduces
cost, improves consistency of identifying defects, and supports manufacturing process
improvement.
